
Superior Polyester Roofing Fabrics
At Specification Chemicals, Inc., we specialize in manufacturing superior polyester roofing fabrics designed to withstand the test of time. Our products meet stringent industry standards and simplify the application process for low-slope roofing while giving you the confidence that your roof will last for years to come.
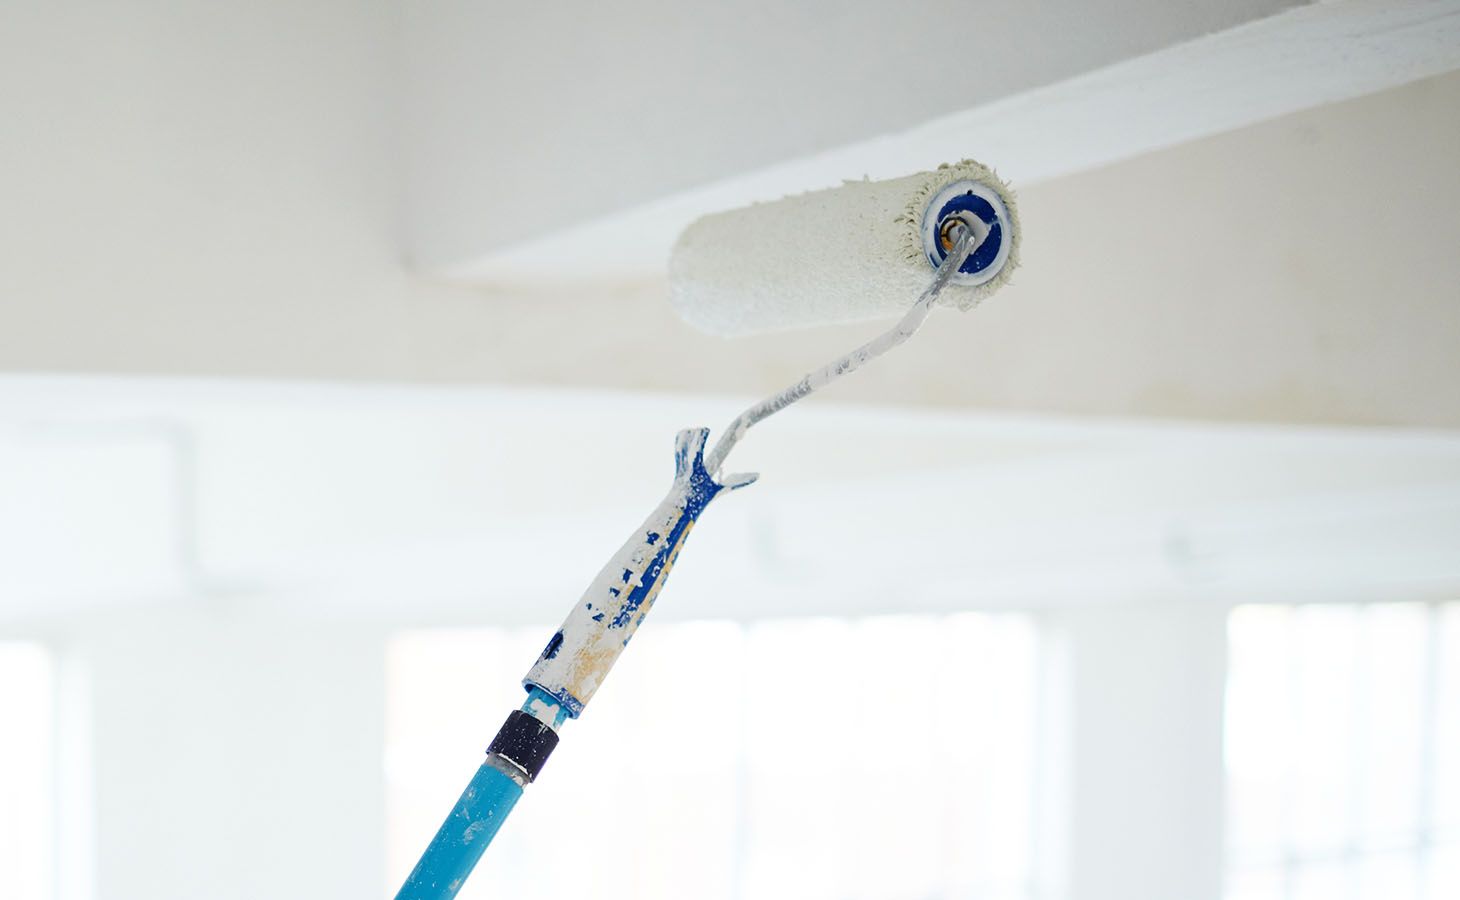
We carry multiple fabric options to streamline your roofing process. Whether you work with acrylic or asphalt coatings, our 100% polyester fabric materials have excellent conformability and elongation properties to ensure outstanding results for your next roofing project.
Our spun-bonded, spun-laced, and woven options are the perfect fit for a wide variety of applications. If you’re looking to finish a new roof, resurface an existing roof, or patch a small area, we have the right materials for your job.
Specification Chemicals, Inc. polyester roofing fabrics are available to general consumers, contractors, distributors, and as private-label for the roofing industry.
Our History
Specification Chemicals, Inc. has been a family-owned company since 1975. The company was founded by Clarence Ball, who started out working in the lumber industry in Arizona. He moved to Minnesota and with the help of a large chemical company, formulated and developed (Insert SC logo) White Plastic® products. Later, Ball relocated to Boone, Iowa, and opened Specification Chemicals, Inc., where he manufactured coatings and converted roofing fabrics for contractors, homeowners, and private labels for the roofing industry.
Later, Clarence’s daughter, who had a background in accounting, joined the business to head the office and cover the back end of the company. His son also joined Specification Chemicals, Inc. and worked the manufacturing, product demonstration, and product support end of the business.
Mathew, a third-generation family member and MBA graduate, now runs the company alongside Suzy. We have been blessed as a family and strive to offer excellent customer service and help our customers at every opportunity.
Mathew, a third-generation family member and MBA graduate, now runs the company alongside Suzy. We have been blessed as a family and strive to offer excellent customer service and help our customers at every opportunity.